




 UA
UA  PL
PL How to Walk in Heels: A Step-by-Step Guide for Beginners
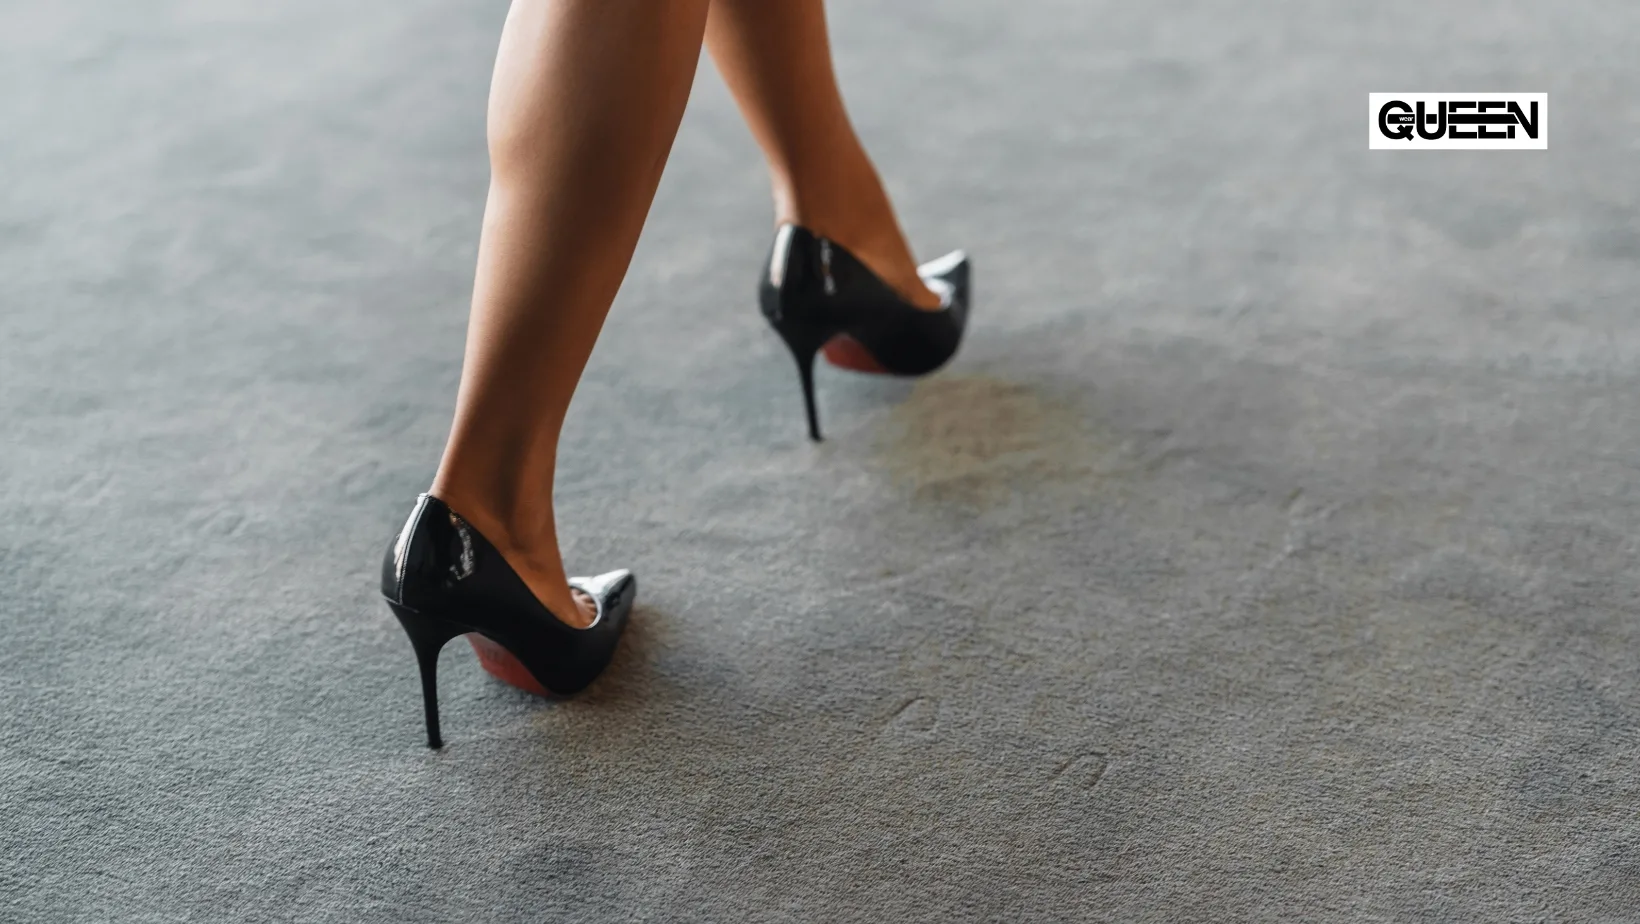
Learning how to walk in heels is not only about keeping your balance. A confident walk depends on posture, controlled weight transfer, correct foot placement and the ability to move without making the body look tense.
The technique also changes slightly depending on the shoes. Walking in classic pumps is different from moving in dance boots or high platform heels used for exotic dance and pole choreography.
The good news is that walking in heels is a skill. You do not need perfect balance from the first attempt. With suitable shoes and short, regular practice sessions, your steps can become more stable, smooth and natural.
Choose the Right Heels Before You Start
It is difficult to develop good technique in shoes that are unstable, incorrectly sized or unsuitable for your current experience level.
For everyday heels or a beginner heels dance class, a lower and wider heel usually provides more stability than a very thin stiletto. Alvin Ailey’s beginner heels classes similarly encourage newcomers to start with comfortable low or thick heels before progressing to more demanding footwear.
Platform dance heels require a slightly different approach. Because the front platform raises the entire foot, a six-inch model can sometimes feel more manageable than its total height suggests. Pleaser recommends its six-inch platform line for beginner pole dancers before progressing to seven- or eight-inch styles.
Whichever type you choose, your heels should:
- fit securely around the foot;
- hold the heel in place;
- provide enough room for the toes;
- have intact straps, laces or fastenings;
- feel stable when you stand without moving;
- remain attached to the foot without you gripping the shoe with your toes.
A shoe should hold your foot securely rather than forcing your toes to work constantly to keep it in place. Secure fastenings can improve stability and reduce unnecessary pressure at the front of the foot.
Prepare a Safe Practice Area
Practise on a clean, dry and level surface. A dance studio floor, smooth wooden floor or another firm surface is usually more suitable than thick carpet, uneven paving or slippery tiles.
Beginners should practise near:
- a wall;
- a stable chair;
- a ballet barre;
- a pole;
- another fixed support.
Use the support lightly. It is there to help you correct your balance, not to carry your full body weight.
Avoid practising beside furniture with sharp corners or objects that could restrict your steps. You need enough space to walk forward, stop and turn safely.
Step 1: Establish Your Posture
Before taking the first step, learn how to stand in heels correctly.
Stand tall with your:
- head lifted;
- gaze directed forward;
- shoulders relaxed;
- chest open without forcing the ribs forward;
- core gently engaged;
- pelvis in a neutral position;
- knees soft rather than locked.
Do not lean excessively backward to compensate for the height of the heel. Do not bend forward from the waist either. Imagine your head moving upward while your body remains centred over the shoes.
Heels dance training commonly begins with posture, balance and walking fundamentals before introducing choreography.
Check your alignment in a mirror from the front and side. Your body should look lifted but relaxed. If your shoulders rise toward your ears or your lower back arches strongly, reset before walking.
Step 2: Find Your Centre of Balance
High heels change how pressure is distributed across the foot. Before walking, practise shifting your weight while standing still.
Begin with both feet parallel and approximately hip-width apart.
Slowly move your weight:
- Slightly forward toward the balls of the feet.
- Back toward the heels without leaning the torso.
- Toward the right foot.
- Toward the left foot.
- Back to the centre.
The movement should be small. Its purpose is to help you recognise when your weight is balanced and when it begins to move outside your stable base.
Next, lift one foot just a few centimetres from the floor while holding a wall or chair. Return it and repeat on the other side. This prepares you to transfer your entire weight onto one leg during each step.
Step 3: Learn Correct Foot Placement
One of the most common questions is whether you should walk heel-to-toe or toe-to-heel.
Walking in classic heels
In conventional pumps or ankle boots, place the heel down gently before allowing the front of the foot to follow. The movement should be controlled rather than forceful.
Think of the sequence as:
heel → ball of the foot → toes
Do not strike the floor aggressively with the heel. Your step should roll forward smoothly.
Walking in platform dance heels
High platform heels require more caution because the raised front sole and narrow stiletto create different contact points.
Avoid placing all your weight suddenly onto the stiletto heel. Guide the shoe toward the floor, establish contact through the platform and sole, and then settle your weight into a stable position.
The exact placement may vary depending on the shape of the platform and the technique taught by your instructor. Your goal is a quiet, controlled landing rather than a heavy impact.
Platform heels are heavier than ordinary dance shoes, so beginners need time to adapt to their weight and momentum. Pleaser recommends gradually practising walking and floor movement before introducing more advanced pole work.
Step 4: Take Shorter Steps
Long strides make it harder to control the ankle and transfer weight smoothly.
Start with short steps. Place each foot close enough to the other that your centre of gravity remains under control.
A beginner walking pattern should feel like this:
- Transfer your weight onto the supporting leg.
- Lift the free foot without swinging it outward.
- Place it a short distance ahead.
- Confirm that the shoe is stable.
- Transfer your weight onto the front leg.
- Repeat with the other side.
As your balance improves, the steps can become longer and more expressive. Do not force a runway-style stride before you can maintain basic alignment.
Step 5: Keep Your Feet on a Narrow Path
Walking with the feet too far apart can make the movement look heavy and disconnected. Crossing them too dramatically can cause instability.
Imagine two narrow lines running forward from your feet. Place each foot close to the centre without allowing the legs to collide.
For a natural walk, the feet may pass close to one another. For a more stylised dance walk, one foot can cross slightly in front of the other.
Keep the crossover small at first. Stability matters more than creating an exaggerated hip movement.
Step 6: Keep Your Knees Soft
Locked knees make walking look stiff and can cause the body to bounce from step to step.
Allow the knees to bend naturally as you transfer your weight. The movement should be subtle. You do not need to squat or noticeably lower the body.
Soft knees help you:
- absorb each step;
- maintain balance;
- move the hips naturally;
- change direction;
- stop without losing control.
At the same time, avoid keeping the knees permanently bent. Straighten the supporting leg as your weight settles, but do not force the joint backward.
Step 7: Look Ahead, Not at Your Feet
Looking down may feel safer, but it usually pulls the head and shoulders forward. This changes your alignment and makes balance more difficult.
Choose a point at eye level and direct your gaze toward it.
Use your peripheral vision to remain aware of the floor. During practice, check your feet in the mirror rather than dropping your head every time you take a step.
When approaching a turn, look in the new direction before allowing the rest of the body to follow. This makes the movement appear intentional and helps prevent dizziness.
Step 8: Relax Your Arms and Upper Body
Beginners often hold their arms away from the body for balance. This may help initially, but it can make the walk look tense.
Start with the arms relaxed beside the body. Let them move naturally in response to your steps.
Once the basic walk feels stable, practise several arm positions:
- hands resting lightly on the hips;
- one hand on the waist;
- arms moving naturally beside the body;
- one arm extending during a turn;
- hands tracing the body during a dance walk.
The shoulders should remain lowered. Avoid holding the elbows rigidly or clenching the hands.
Step 9: Add Natural Hip Movement
You do not need to force your hips from side to side. Natural hip movement appears when you fully transfer your weight onto each leg.
As the right foot steps forward and receives your weight, the right hip will respond. The same happens on the left side.
To practise:
- Walk slowly.
- Pause after each step.
- Confirm that your weight is fully over the supporting foot.
- Allow the free hip to relax.
- Continue without pushing the pelvis outward.
Once the weight transfer becomes smooth, remove the pauses. The hips should follow the walk rather than lead it aggressively.
Step 10: Practise Stopping Gracefully
A confident walk needs a controlled finish.
To stop:
- Shorten your final step.
- Transfer your weight onto the front leg.
- Bring the other foot close to it.
- Keep the knees soft.
- Lift through the torso.
- Hold the position for a moment.
You can finish with the feet parallel or place one foot slightly in front of the other in a dance pose.
Do not stop by throwing your upper body backward or taking several small uncontrolled steps. If you feel unstable, widen your stance slightly and reset your posture.
How to Turn in Heels
Do not begin with fast spins. Start with a basic step turn.
Beginner step turn
- Take a small step forward.
- Transfer your weight completely.
- Look in the direction you want to turn.
- Take several small steps around yourself.
- Finish facing the new direction.
- Pause before continuing.
Small steps are safer than twisting on a planted foot. Twisting while the shoe is fixed to the floor can place unnecessary pressure on the ankle or knee.
Pivot turns
Once you are comfortable, practise a controlled pivot using the front of the shoe or platform as the main turning point.
Keep the supporting knee soft and avoid forcing the rotation. The heel should not catch against the floor.
When dancing in high platform heels, learn pivots with an instructor whenever possible. Platform shape, heel height and floor material can all affect the movement.
Beginner Exercises for Platform Heels Balance
Good platform heels balance comes from repeated control drills rather than simply wearing the shoes for long periods.
Weight-transfer drill
Stand near a wall and move your weight slowly from one foot to the other. Lift the free heel or entire foot once you feel stable.
Complete eight controlled transfers on each side.
Single-leg balance
Hold a stable support and lift one foot slightly from the floor. Remain tall rather than collapsing into the supporting hip.
Hold for five to ten seconds, then change sides.
Single-leg standing and heel-to-toe positions are commonly used in general balance training because they progressively challenge stability.
Straight-line walk
Place a strip of removable tape on the floor or use the edge of a floorboard as a guide.
Walk along the line using short, controlled steps. Turn carefully and walk back.
Slow-motion walk
Take four counts to complete each step:
- count one: lift the foot;
- count two: extend it forward;
- count three: place the shoe;
- count four: transfer your weight.
This drill reveals whether you are rushing, leaning or dropping your weight into the shoe.
Controlled rise
In suitable heels, hold a support and practise gently lifting the body while maintaining aligned ankles. Lower slowly.
Do not perform this drill if the shoe construction, platform or instructor guidance makes the movement inappropriate.
Dancing in Heels for Beginners
Walking is the foundation of dancing in heels for beginners, but choreography introduces additional challenges. You must control your steps while responding to music, changing levels and coordinating the upper body.
Before learning a routine, become comfortable with:
- standing in heels;
- walking forward and backward;
- transferring weight;
- stopping;
- changing direction;
- basic step turns;
- simple poses.
Beginner heels classes usually combine a warm-up with posture, walking, balance, coordination and basic choreography.
Practise without heels first when a movement feels confusing. Once you understand the pathway, repeat it in your shoes at a slower tempo.
What to Wear While Practising
Your clothing should allow you to see your alignment and move without distraction.
Suitable options include:
- a fitted top;
- a supportive bodysuit;
- shorts that stay in place;
- fitted trousers with enough stretch;
- knee pads for choreography involving the floor.
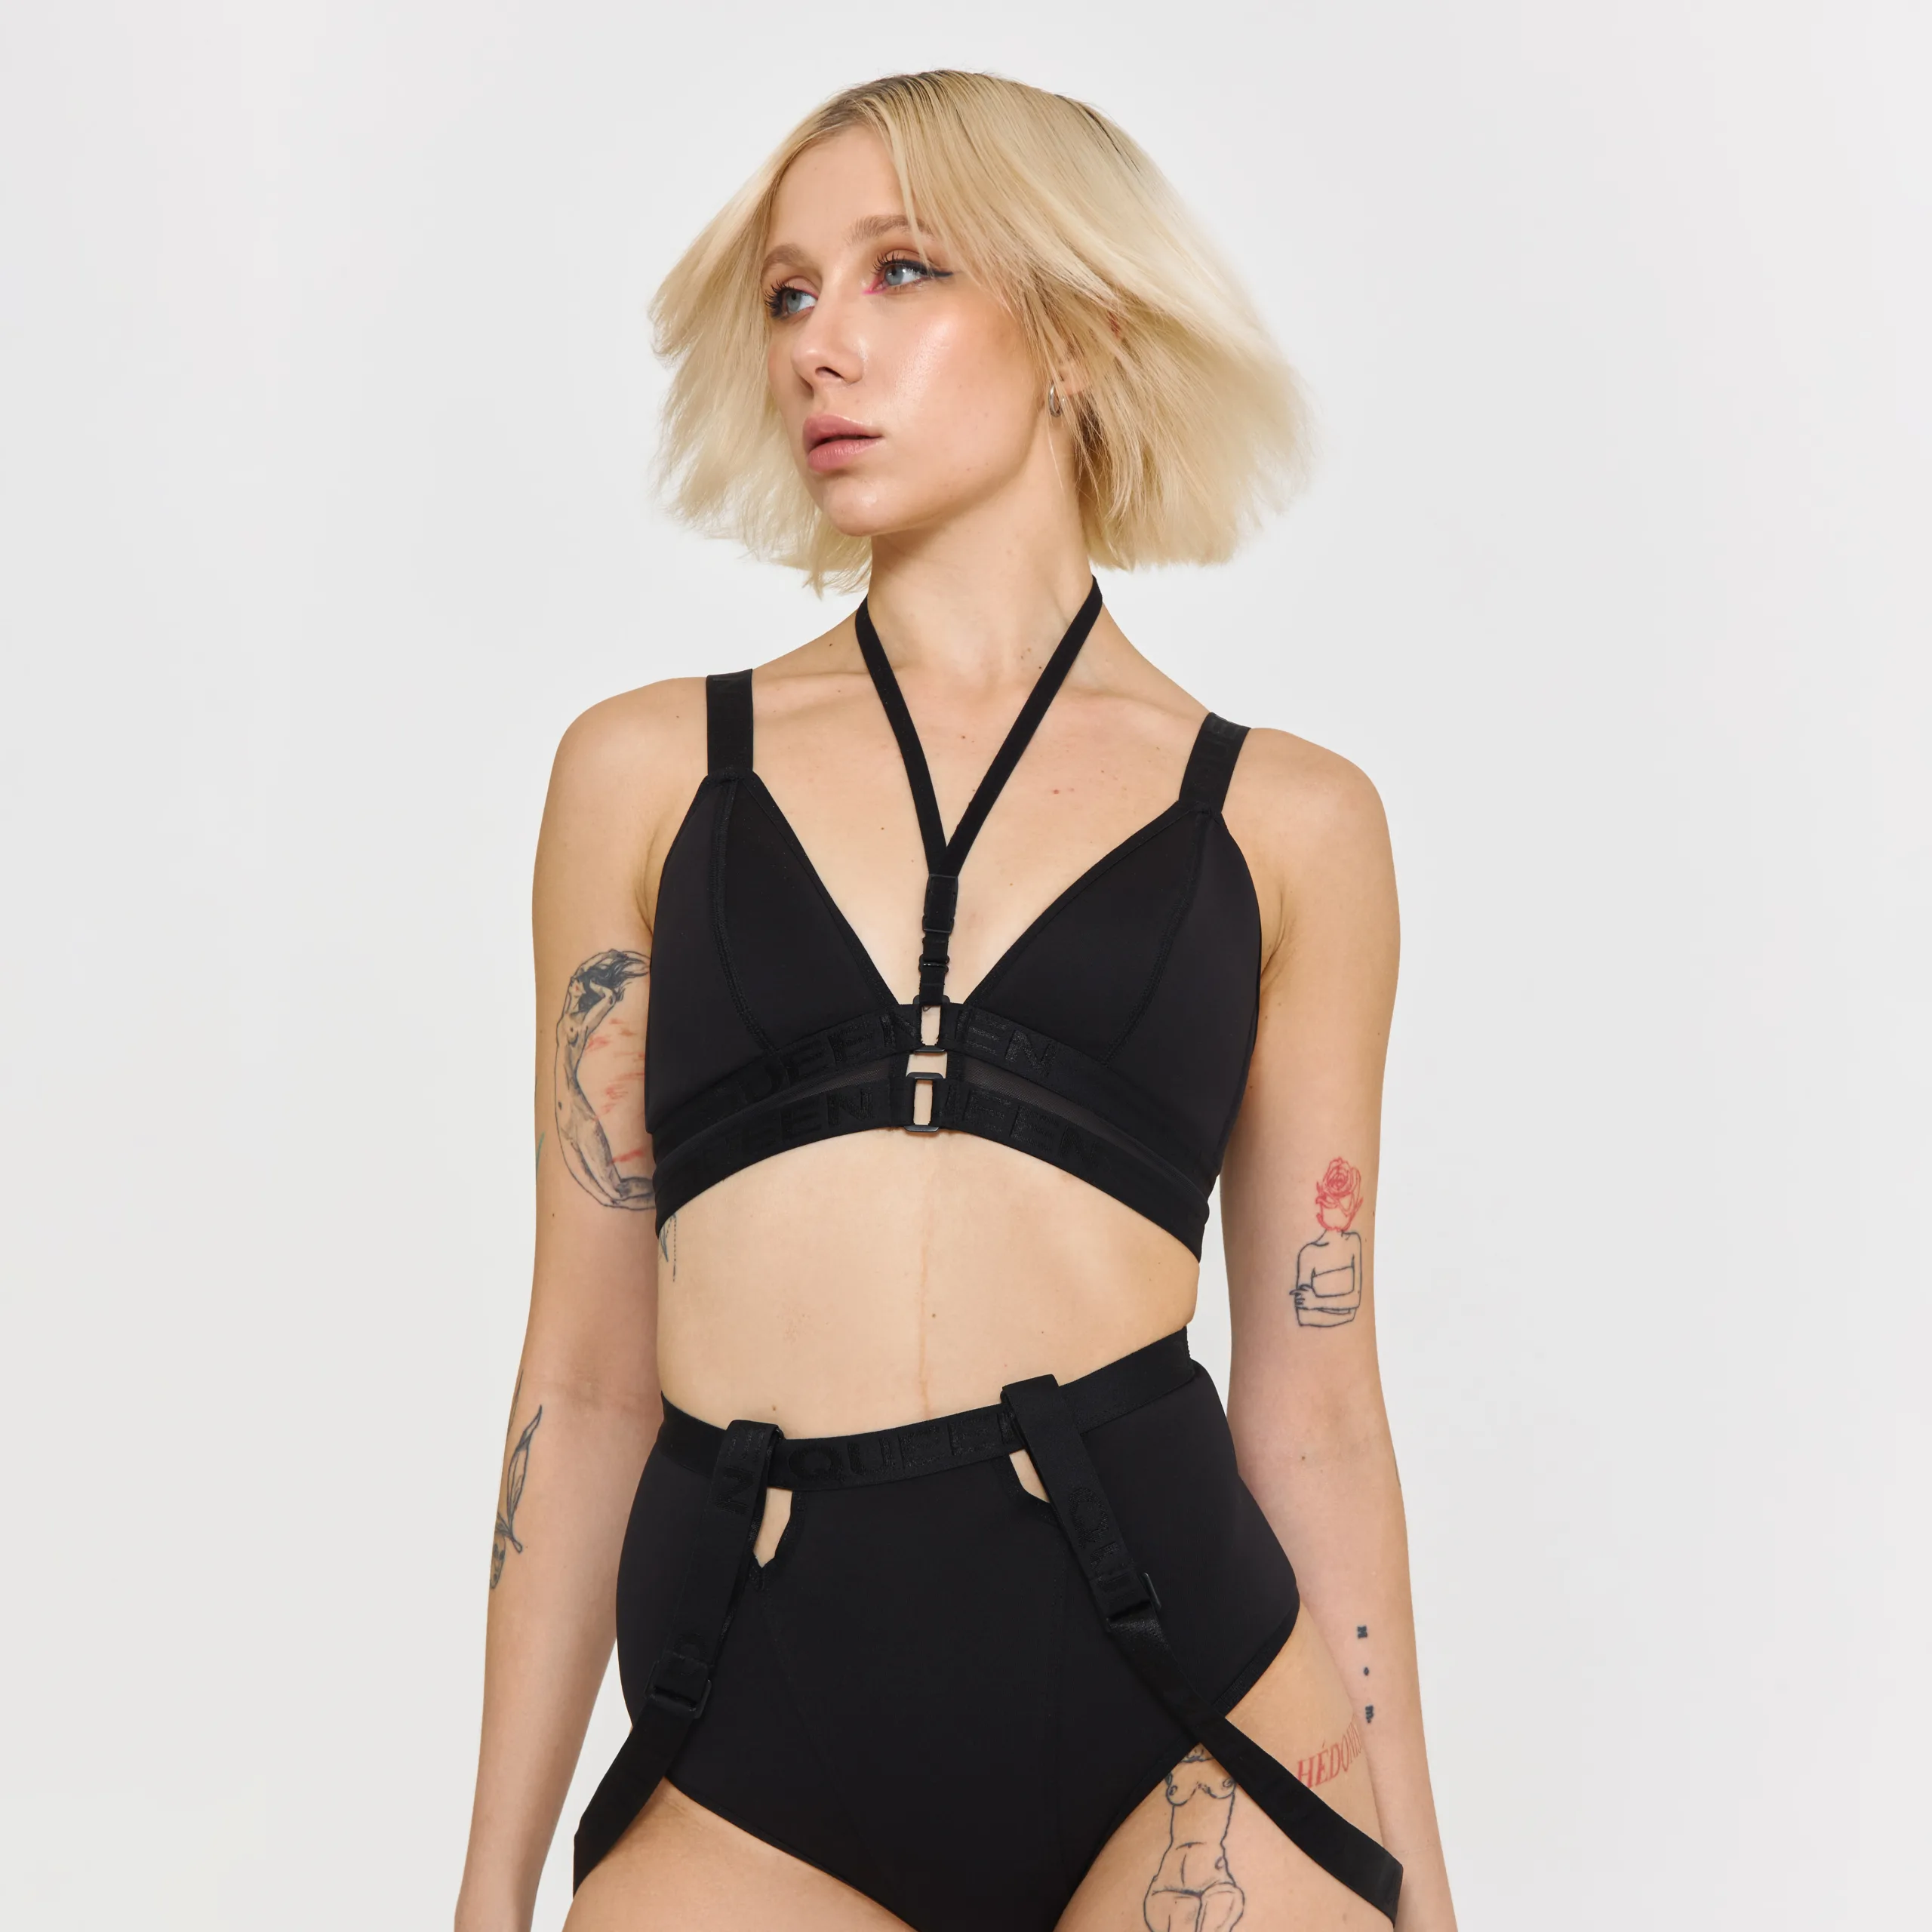
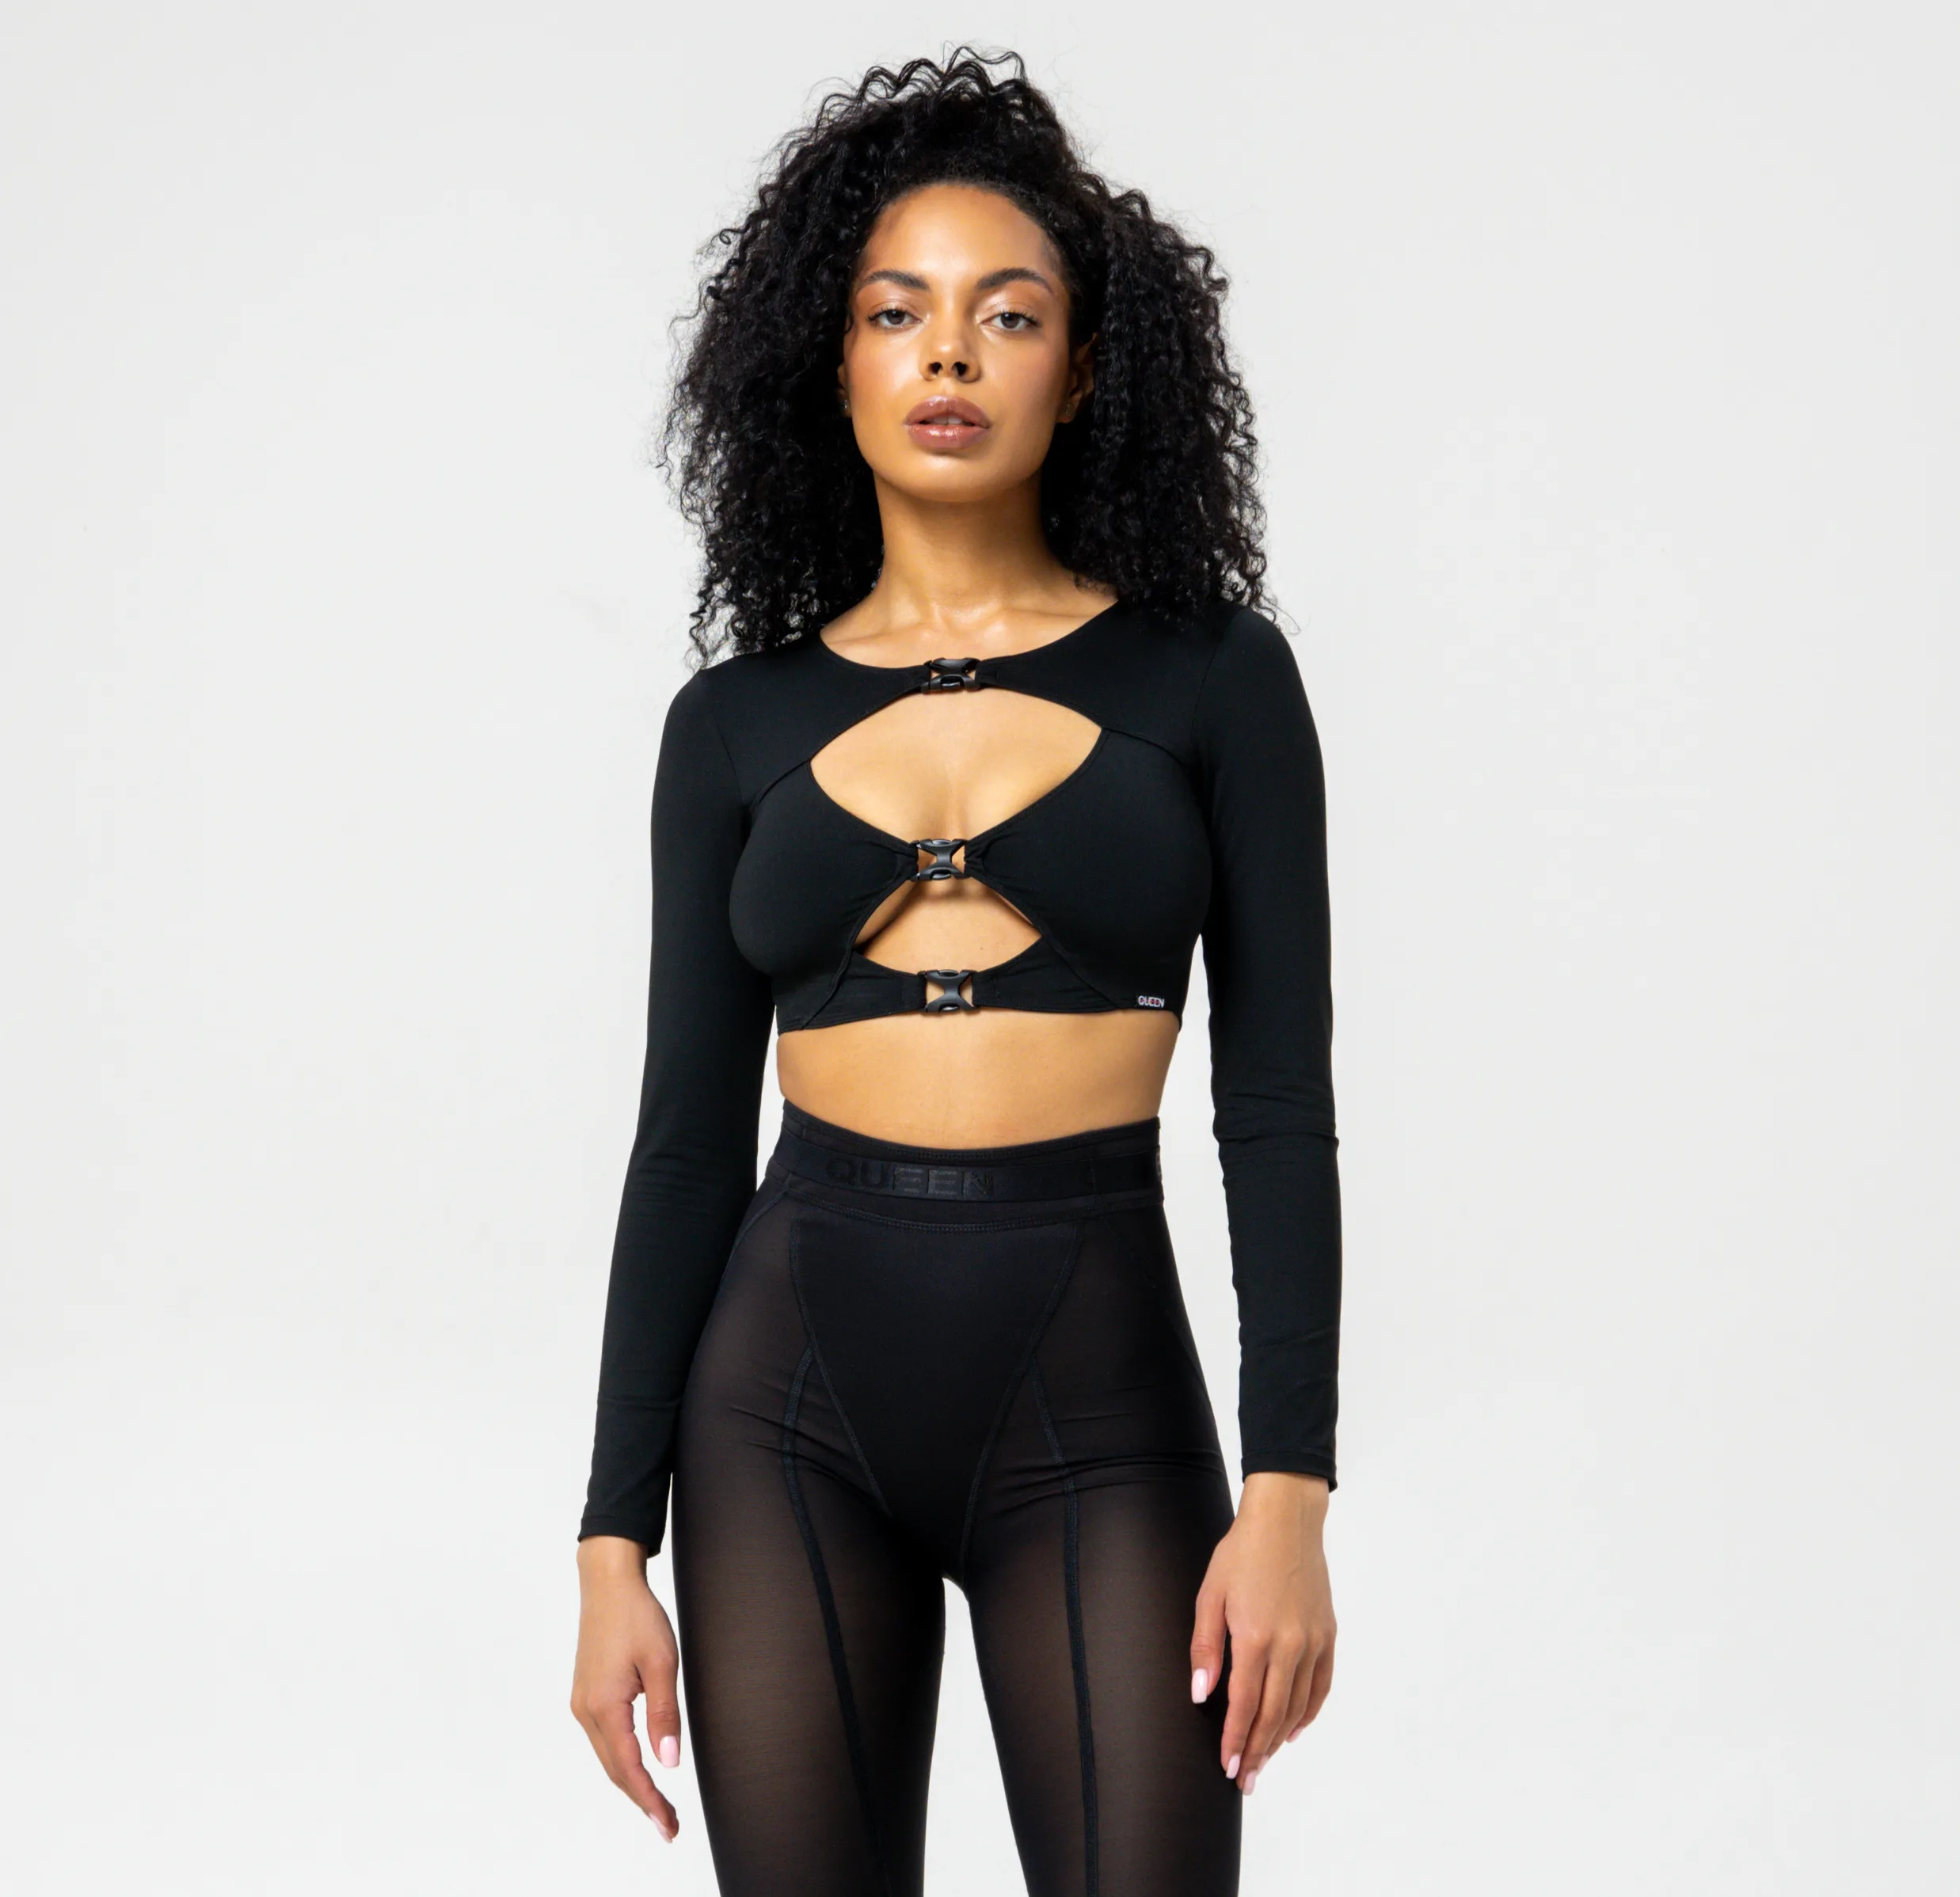
Explore the Queen Wear High Heels clothing collection for pieces designed for dance training, choreography and performance.
Depending on the class, you can choose:
- High Heels tops that provide support without restricting the shoulders;
- High Heels shorts for freedom of movement;
- High Heels bodysuits for a secure, streamlined fit;
- High Heels pants for warm-ups and choreography;
- knee pads for heels dance when the routine includes kneeling, slides or floorwork.
Avoid loose trouser legs that can become caught under the platform or heel. Jewellery and decorative accessories should also remain securely attached.
Common Beginner Mistakes
Taking steps that are too long
Large steps move your centre of gravity too far from the supporting foot. Shorten the stride until every landing feels controlled.
Walking too quickly
Speed can hide poor technique temporarily, but it usually makes balance problems worse. Practise slowly before adding tempo.
Looking down constantly
This pulls the torso forward. Keep the gaze lifted and use a mirror to check your feet.
Locking the knees
Rigid knees make the walk stiff and prevent the body from absorbing movement.
Forcing the hips
The hips should respond to weight transfer. Excessive side-to-side movement can make the walk unstable.
Choosing heels that are too advanced
A shoe may look impressive but still be unsuitable for your current strength and balance. Start with a manageable height and secure construction.
Ignoring pain
Muscle fatigue while learning a new skill is different from sharp pain, numbness or joint discomfort. Stop when something feels wrong.
High heels shift more weight toward the front of the foot, and extended wear can contribute to discomfort in the feet or back. They are better reserved for controlled practice and specific occasions rather than long periods of everyday walking.
A Simple 15-Minute Practice Routine
Use this routine two or three times per week:
Minutes 1–3: Stand in alignment and practise weight shifts.
Minutes 4–6: Walk forward using short steps.
Minutes 7–8: Practise stopping and holding a stable pose.
Minutes 9–10: Walk backward slowly near a support.
Minutes 11–12: Practise step turns in both directions.
Minutes 13–14: Add natural arm and hip movement.
Minute 15: Repeat one confident walk from beginning to end.
New platform heels should also be broken in gradually. Short practice sessions give your feet time to adjust to the fit while allowing you to become familiar with the additional weight of the shoes.
Build Confidence One Step at a Time
Learning how to walk in heels is a combination of technique, strength and repetition. Start with secure shoes, correct your posture and practise each stage slowly before adding longer steps, turns or choreography.
Confidence does not come from pretending that the heels feel easy. It develops when you understand where your weight is, how each foot meets the floor and how to recover your balance without panic.
Once the basic walk feels natural, you can begin exploring musicality, poses, floorwork and more expressive choreography. Complete your training look with supportive High Heels wear from Queen Wear designed to stay comfortable and secure while you move.